Foreground and Background Segmentation using K-Means
Image segmentation is a process of partitioning an image into multiple classes by assigning a class label to every pixel. Off-lately the advances in Deep Learning has made this to be a very easy task, especially when you have a good amount of annotated data for training a supervised image segmentation model. There are also other approaches that one can employ if there is no annotated data available and if you want to do a completely unsupervised image segmentation. Historically, clustering techniques and probabilistic graphical models(PGM) were used to perform image segmentation task, which I feel is still very relevant in a lot of scenarios where it is difficult to obtain training data. A clustering based image segmentation method will form groups of pixels according to their RGB values representing the color or other low-level properties which are called superpixels.
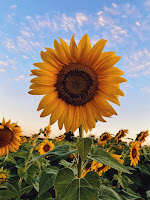
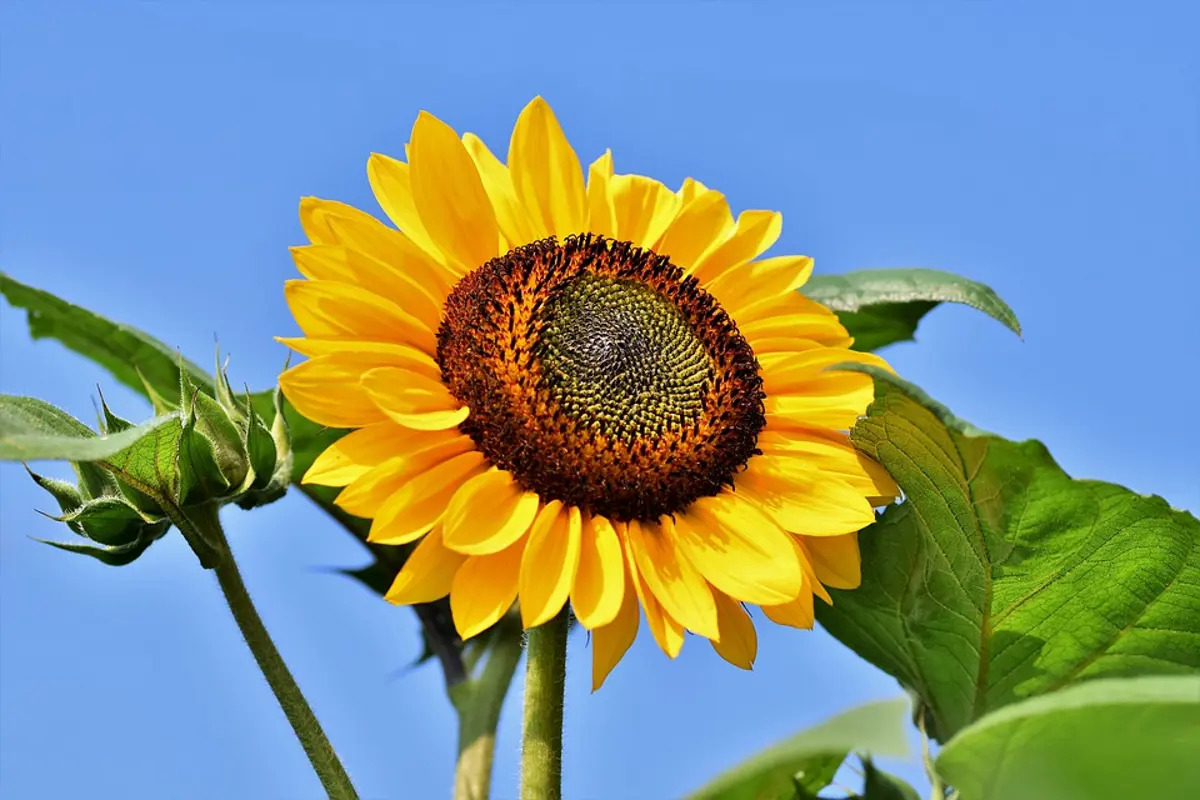
As part of this blog post we will see how to do background and foreground segmentation using K-Means. We will use the following 5 images of the sunflower (image credits: Google) and test how our method works on it. Our goal here is to separate out the the Sunflower from the background using K-Means.
 |  |
 |  |
 |
K-Means is an unsupervised algorithm used to group data points into K groups iteratively. When executed on image with K=2 it will try to group the pixels based on their colors into 2 groups foreground and background. In the images that we have selected, we have 2 most prominent features, the sky and the sun flower. If in case there were additional features in the images we could have increased the value of K so that the additional objects are grouped separately.
Let's have a look into the code how we will achieve this. I have used OpenCV's cv2.kmeans function to to implement this. The function described below takes image in form of a numpy array as input and the number of classes i.e the K of K-Means as an input and runs cv2.kmeans on the same and returns a segmented image along with cluster center details for each pixel of the image. The images can be read into a numpy array by loading them using cv2.imread
The returned segmented images when plotted using matplotlib looks like this.


Comments
Post a Comment